Showing posts with label practical. Show all posts

Monday, August 13, 2012

Style Tutorial: Rolling Side Puff

I was going through old videos from my YouTube channel and came across this gem. Sometimes I can't tell if my hair has really grown that much, but comparing the current length to my length in this video from nearly two years ago I can really note the difference.

This was part of my quick styling series... when I was working an office job and really needed to cut down on my styling time in the mornings. I used rolling twists in this style, which are quicker than flat twists- but not as secure so they don't last as long. I think I kept this style for three days by wearing a silk scarf at night.

What are your favorite quick styles that take 15 minutes or less?


Rolling Side Puff


Monday, June 25, 2012

Style Tutorial: Fold & Tuck Updo

 
So I've been wanting to try my hand at this fold and tuck technique ever since I first saw this tutorial by Lovingyourhair on YouTube. I tried my hand at it today after taking down my twists from wash day (two days ago). I love it with the texture of the twist out! I like the messy look, so I kept my finger parts from the twists to make the rolls. This style took me 10 minutes and 10 bobby pins! What do you guys think?


Monday, January 16, 2012

Lessons in Mini Twists: The Cheat Sheet

So here's the thing: I'm not usually a fan of mini-twists. Rather I should say I am not a fan of putting them in and taking them out, but the duration of wearing mini twists is often a fantastic experience! One night I found myself putting in some of the tiniest twists I've ever done, and while I cursed myself in my head my hands would not stop. About 6 hours later (that includes making and eating dinner; talking on the phone; periodically checking Facebook...) I was very proud of the mini twists in my hair.

My best set of twists lasted over three weeks, but I usually can't keep them in for so long because they get frizzy. I'm amazed at those who keep their twists looking fresh for four weeks or more! What are your experiences with mini twists? Any of you able to reach an entire month?

Here's what I've learned from my mini twist experiences:
  1. Twisting on wet hair and using a wet product like gel creates a tighter, longer-lasting twist, but also produces greater shrinkage. Twisting on dry hair using an oil or butter creates softer, less-defined twists that tend to unravel. I find lightly spritzing dry hair and mixing a light oil into gel products produce tight twists that last long and are well defined when unraveled. The twists also retain greater length because they are not saturated with water.
  2. The rope twist method (rotating each section clockwise while twisting counter-clockwise or vice versa) creates tighter and longer twists that last longer than regular two strand twists. However the hair can get very tangled if the mini twists are styled often. I use the rope twist method for all of my twists, my hair will unravel otherwise. Tangles used to be a problem for me, but my three step unraveling method has nearly eliminated the problem.
  3. Roller sets on mini twists can mimic many straight styles, like bobs and drop curls, but somehow manage to last longer. I wore a roller set mini twist bob to my two hour dance rehearsal and still had curls at the end! I have a theory that its something about the twists and natural curl of the hair, blah blah blah...
  4. Trimming your hair while in mini twists is not always such a great idea, especially if a comb wasn't used to make straight and even parts. When I saw scraggly ends I kept trimming them. When I took my hair loose I noticed how uneven it had become because of my "arbitrary" trimming. Besides, those ends didn't look as scraggly when clumped in coils rather than randomly parted mini twists. Ooops!
  5. Some natural recipes don't work so well with small twists- like yogurt-based hair conditioners. Even after several rinses I didn't get it all out, but it was a couple of days until I was alerted by a less than pleasurable smell (first noticed by my husband). Yikes!
  6. When unraveling mini twists I follow three simple rules: Use lots of lubrication (oil, conditioner, etc.). Follow the coil (in reverse, of course). Be patient. I like using oil on dry hair for unraveling twists. My strands have a tendency to straighten and slip right out of the twists. When I wet my hair it curls tighter and is harder to detangle. When I rush I often create knots, but when I take my time and follow all three steps I can get through my whole head with very few knots!

Style Tutorial: Mini Twist Styles 1

Sometimes I forget that having twists, especially small or mini twists, is just like having loose hair. There is an endless amount of fantastic styles that can be created with twists- most anything that can be done on loose hair and more! If you're new to wearing mini twists, take a look at the styles I've done below for a few ideas. If you're a veteran and would like your photos posted, please share what you've done: Submissions.TheKitchenSalon@gmail.com. Either way, please tell me what you think!


Style 1

Pinned to the side.
Pinned to the side.

Style 2

Double rolls pinned at the top with a pompadour.

Style 3

Bun with a bang. (Accessorize with a ribbon!)


Style 4

French roll with a side bang.


Style 5

One long roll with front rolls.

Sunday, November 6, 2011

Style Tutorial: 4 Versions of 1 Twisted Updo

If you're like me, suffering from HIH (hand in hair) syndrome, then protective styles may be helpful in limiting how often you play in your hair. But I like changing my hair every day, I just don't want to lose hair to breakage or stress my edges every time I change a style. So now I think about versatile protective styles; twisted or braided styles that can change looks without requiring additional parting, combing, brushing, unraveling and re-twitsing/re-braiding.

Below was my first attempt and I loved it. Sadly I didn't record myself doing it, but will try to recreate the style this season. I kept the twists in for 1 week and managed to create 4 distinctive looks by styling the twists. The key was the bang that I created with two sets of smaller twists; one from the hairline up (see version 4, photo 3) and the other from the crown down (see version 1, photo 1). When the style had run its course, I loosened the ends of the twists for the final look.

What do you think? Do you have any additional ideas for versatile protective styles?

Version 1


Version 2


Version 3


Version 4


Thursday, November 3, 2011

Style Tutorial: Twist Up & Bump (Quick & Simple Protective Styling)

So I mentioned the other day that it was the start of my protective styling season. Although I don't think its absolutely necessary for all people to use this method t protect their hair during winter or to retain length, I know it works for me. I am afflicted with HIH (Hand-In-Hair) syndrome and this relieves some of the symptoms like wandering hands. Also I tend to wear a lot of hats in the colder months, and protective styles usually assist in hat-friendly hair.

This is the first style of the season, well technically the second. For the past week I've been wearing two cornrows with a side part, I've been dancing a lot so didn't want to get too fancy. Honestly, this style isn't too much more involved either, but here ya go! I call it "Twist Up & Bump."


I made one large flat twist up the center of my head from the nape of my neck to the crown of my head.

Then I pulled the front section of hair over the ends of the flat twist (for added cushion), then tucked and pinned the under the flat twist.

I had to sneak in this shot of my tights too... loving them!!!!

Wednesday, September 21, 2011

Tuesday, September 20, 2011

Style Tutorial: Roll One Up

This is my new favorite hairstyle, especially fall through spring when my hair stays mostly in protective styles. Its super quick, like 10 minutes or less quick, and can go from elegant, to chic, to funky to match any outfit or occasion. I don't wear many accessories but I'll bet there are some great ones to rock with this, like colorful feathers or flowers. Try it out, send me pics and tell me what you think. 


Roll One Up... A quick hair style that is!


Friday, September 9, 2011

Wash N' Go My @$$!!!!

I know it the title sounds a bit harsh but hear me out. This isn't a criticism of anyone's styling choices, just a realization I came to as I thought of my own struggle to "define" my curls and rock a so-called "wash and go" style.

When I hear the phrase "wash and go" I immediately think of a two-step process: washing my hair (which includes conditioning) and going out the door. The reality of the wash and go style for most kinky haired naturals is that there is a huge step in the middle that can be divided into multiple sub-steps.

After the hair is washed and conditioned there is sectioning, detangling, applying leave in conditioner, sometimes applying an additional cream product, applying a gel product, raking or brushing the product through, constantly spritzing the hair to keep it soaking wet throughout the process, awkwardly avoiding touching the done sections of hair as you move on.

This process can take up to 2 hours, especially if your hair is long, thick and more kinky than curly!!!!!! And you're not even guaranteed satisfactory results. Umm... what happened to the two simple steps of washing and going?

To address this misnomer, I want to redefine the "wash and go" style. My true wash and go styles are pigtails or two large cornrows (if my hair was washed loose) and bantu knots (if my hair was washed in twists).

If you had to limit your wash and go to a truly simple routine, what would you choose?

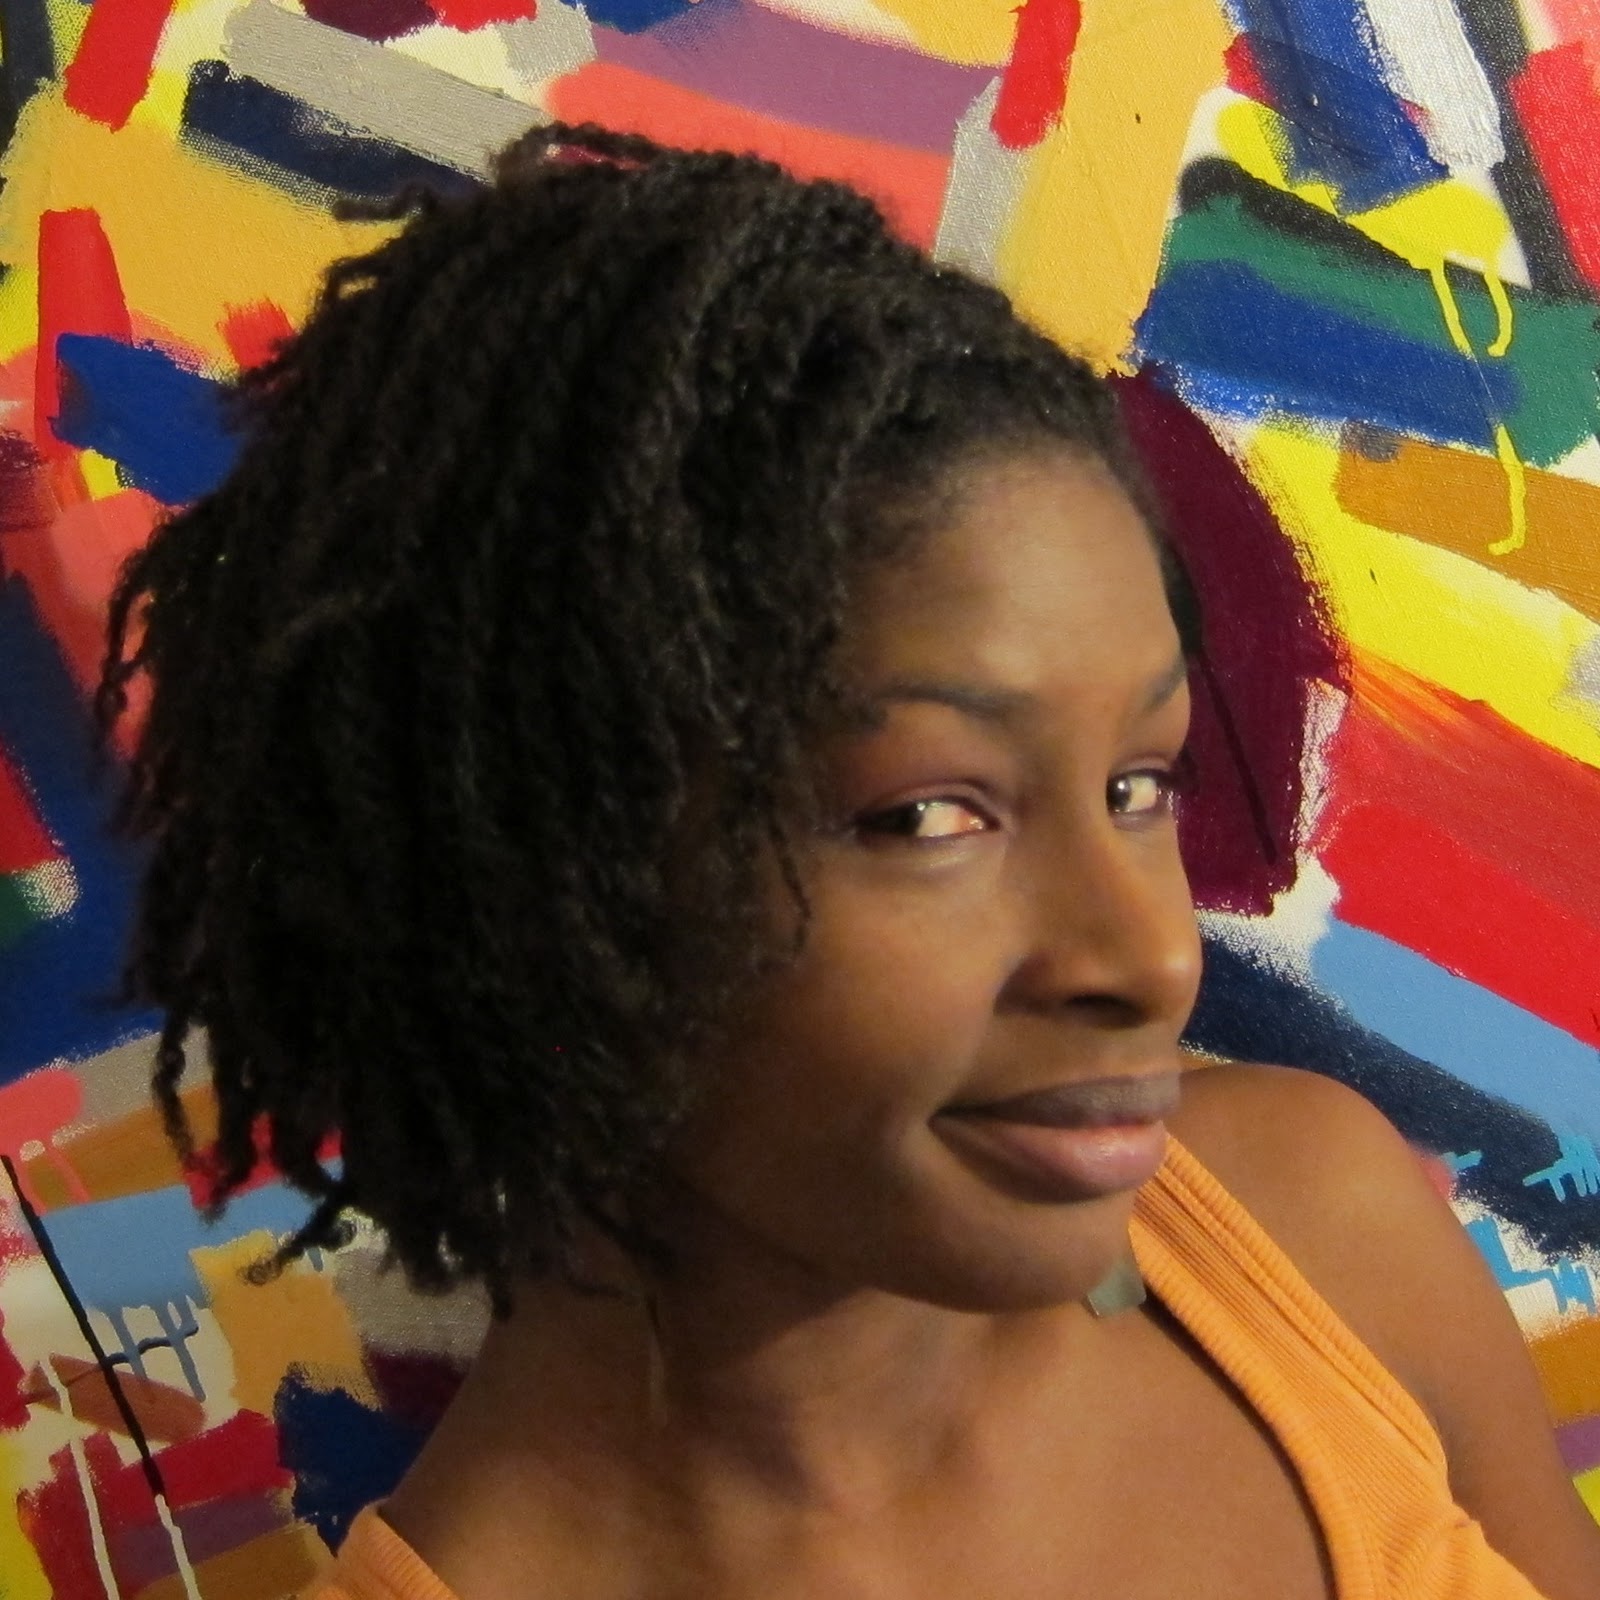
When spending a week on the beach, who wants more than wash and go hair? I lived in these cornrows!